Showing posts with label Gorjuss. Show all posts

Monday, 28 August 2017

Stampscape - 5 colourful brayered scenes and one bonus card again

Today's series is five colourful stampscape brayered background cards on ordinary inkjet glossy photo paper and one slightly different bonus card at the end. 

During last week I finished all the remaining cards I had with pre-brayered background. I used Tsukineko Kaleidacolor rainbow dye inkpads in different colour combinations. The colours are bright and bold, although it is not visible on the photos. All their shades are just beautiful, but I found out, that every device shows them differently, so I really hope, that you can see them in their richness as I do :0)

Anyway, these cards are again a combination of traditional Stamscapes stamps and other stamps from my stash and they are built around the quotes on them.

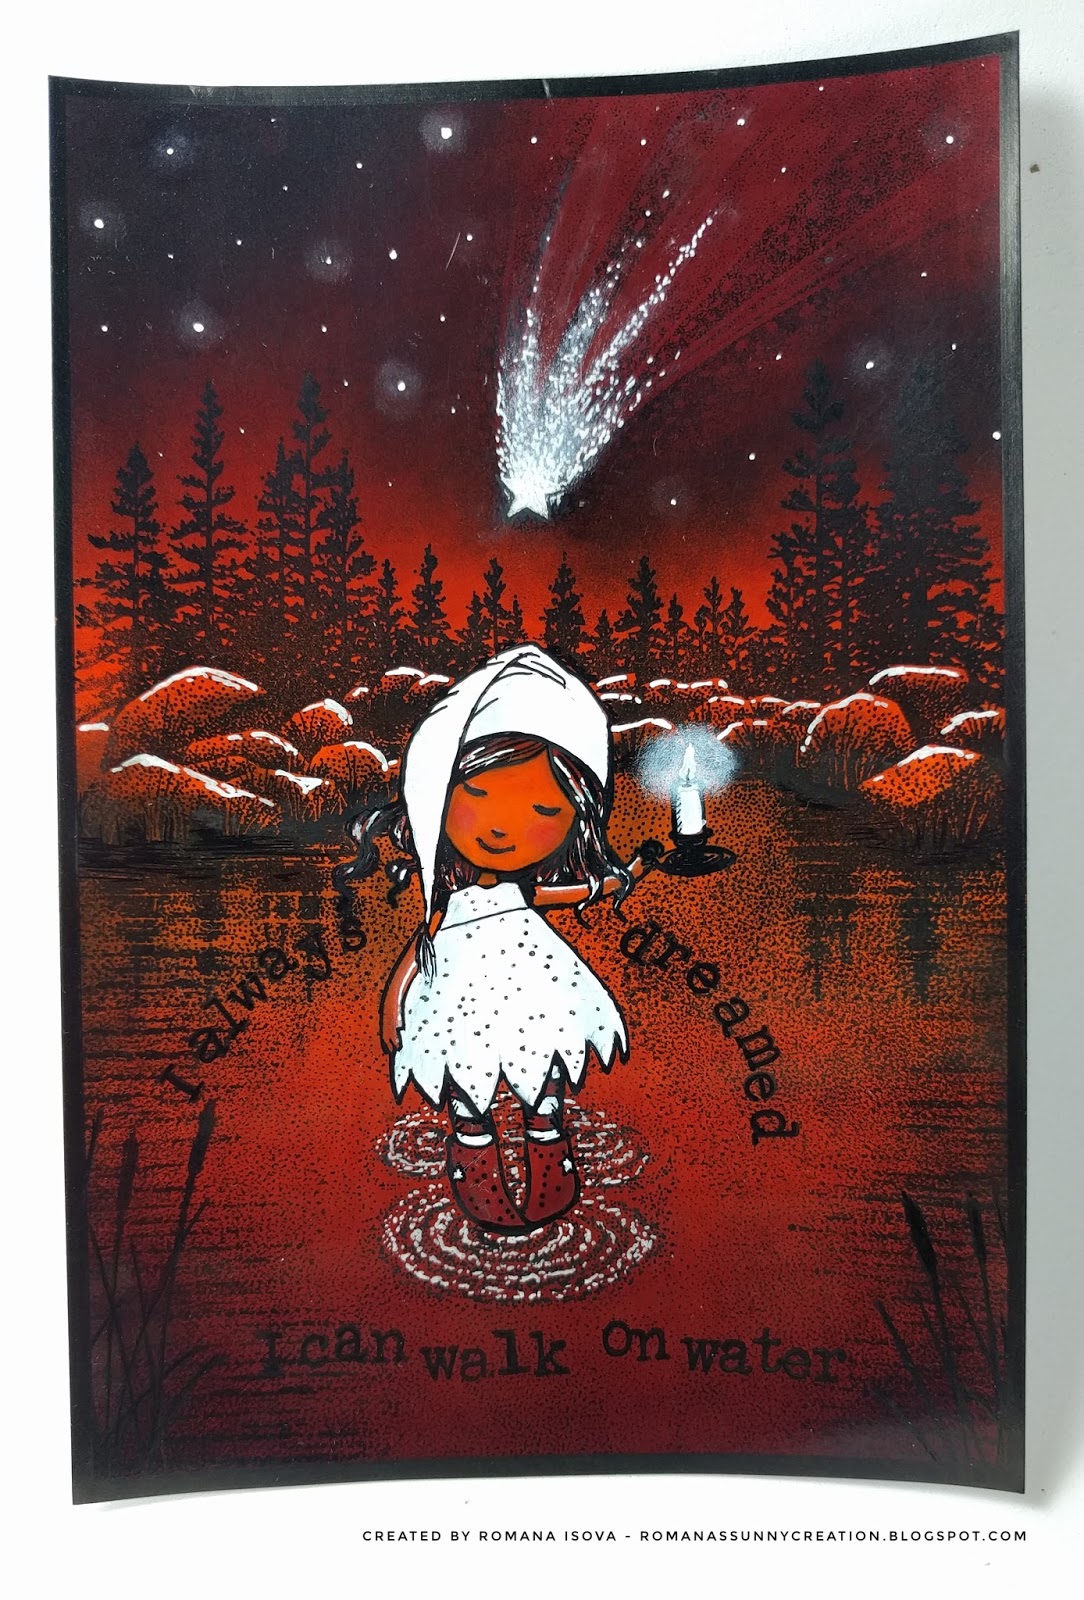
It was a bit tricky to integrate the characters into the scenes and use the only the colours of the backgrounds, just with the help of white gel pen and black liners (only for the snowman I used Posca brush paint pen to achieve really white colour), but I must say that the outcome is better than I hoped and I love how the cards look together :0)

I hope that they will bring at least a little smile to you, thank you for stopping by and here they are, at first together and then individual cards  with a bonus one below:


20.8.2017 Stampscape card - Oh my, it's high


24.8.2017 Stampscape card - Halloween and no moon? Really?


24.8.2017 Stampscape card - Wild ride!


25.8.2017 Stampscape card - Finally holiday!


27.8.2017 Stampscape card - Hide and seek


27.8.2017 Stampscape bonus card - I always dreamed I can walk on water

Thursday, 5 January 2017

2016 Friendly Christmas gifts

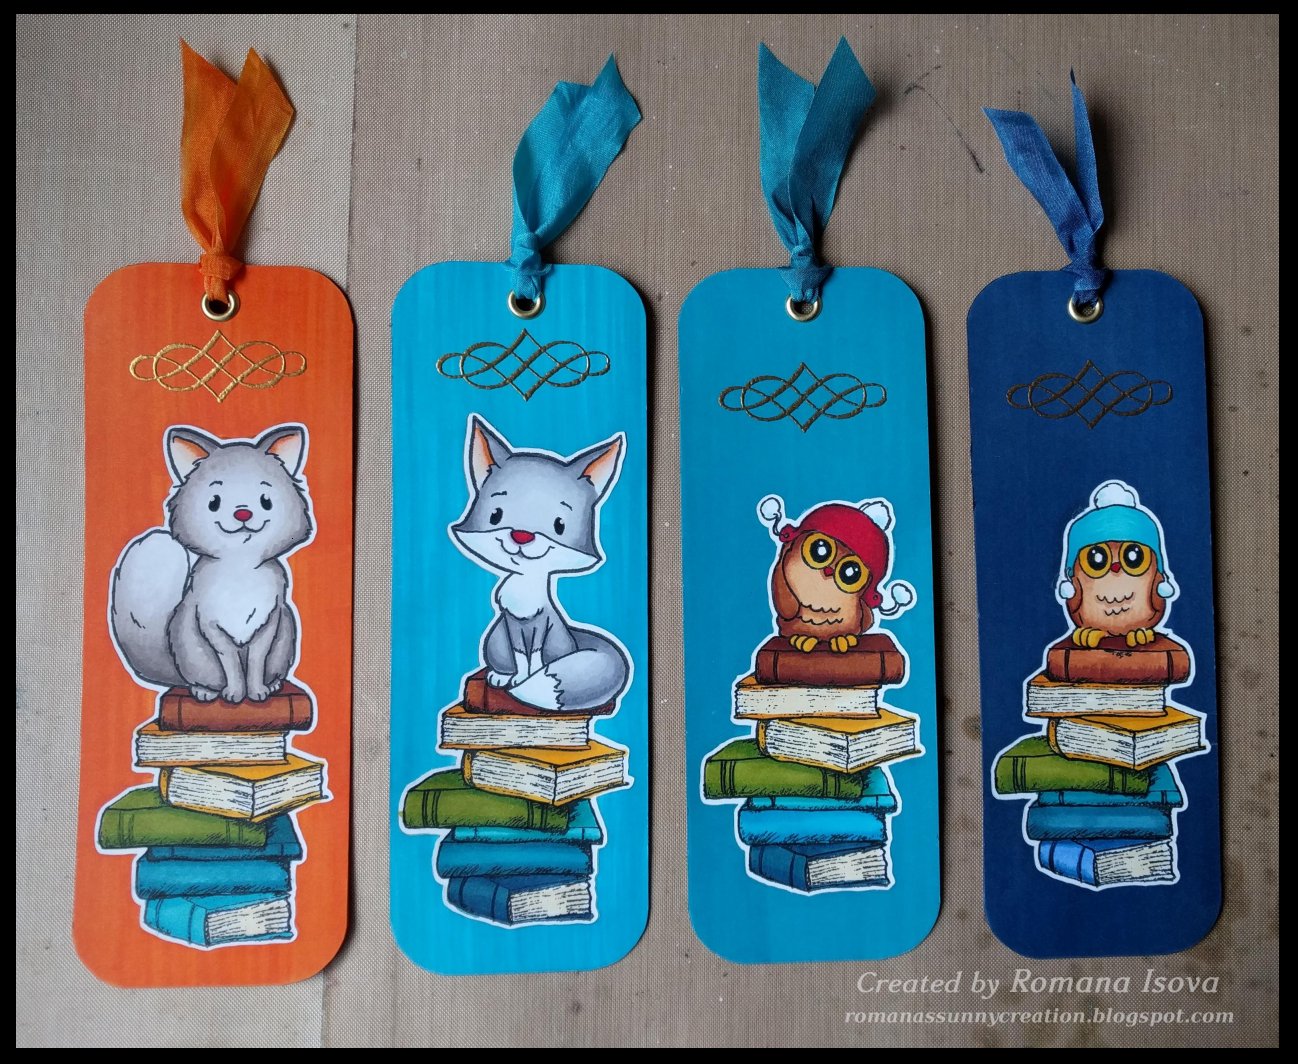
We were invited for a nice Christmas lunch to our friends and I wanted to bring something a little bit more personal to them. I decided for my previous Christmas gift idea and make the special bookmarks, also with a wishes of "Happy year". I thing they turned out very cute :0)

Colored with alcohol markers, embossed with Wow! Metallic gold rich pale embossing powder and gilded with double sided tape stripes and gold foil from Prima. Text stamped with great "Perfectly penned" alphabet stamp set from Concord & 9th. White ribbon colored with matching alcohol markers.


2016 Christmas cards

Christmas cards for 2016...that was quite an adventure :0) Sometimes your idea seems to be easy and then, during a realization itself, you find out that things go wrong or at least other way than you've imagined. So you change your plans and start again and leave this part and add another....and at the end there is the day when you really need to finished it all and send all your best wishes to your beloved as soon as possible. So you focus hard to make the cards almost perfect...during the morning, during the day, during the afternoon and evening and even the night...and at 6:30 a.m. you decide not to go to bed at all and keep your eyes open even a while longer so you can go to the post office after they open :0))
But i think it was worth it and I'm very happy that this year I also included a small gift for everybody - the bookcase with wishes of "Happy year" made with love, because I think that we all need a happiness in our lives :0)

Embossed white cardstock base colored with archival and distress ink pads plus colour cardstock background embossed with white embossing powder and colored with archival inks / colour cardstock background embossed with clear embossing powder and colored with archival inks.
Medallions: colour and white cardstock colored with distress ink pads, stamping with Ranger Black soot archival ink. Bunnies and trees colored with Distress markers and sealed with Distress micro glaze wax. Silver "mirrored" stars. Dimension to the frames added with white craft foam circles.
Bookmarks: background colored with alcohol markers, bunnies and books with Distress markers sealed with Distress micro glaze. Embossed with Wow! Metallic gold rich pale embossing powder and gilded with double sided tape stripes and gold foil from Prima. Text stamped with great "Perfectly penned" alphabet stamp set from Concord & 9th. White ribbon colored with matching alcohol markers. 

So have a great year 2017 and a lot of happiness in it :0)


Sunday, 10 April 2016

Playful art journal page 8

This journal page has two topics - resist and spring :0) Resist is the first one, because it was the inspiration for the background I made for this page. When I saw the set of samples done by Michelle Remy I knew I want to try it, because the range of mediums which can be used for this technique is really impressive and inspirational. And I love my result I must say. For me it looks like an old tapestry. And sometimes if I do something I like so much, I really want whole page to be in harmony. That's why the second topic is spring/love, because that is the feeling I had from the background when I finished it and because Spring in all his beauty is finally here all around :0). 

Resist technique is a combination of more mediums in this case. First I applied Dylusions paint Dirty martini with Ranger foam applicator. In the lower right corner I already had thin layer of Dylusions After midnight paint, so the final color is darker. I did not use any water and this coat of Dylusions acrylic paint really help to this technique and my lighter journal paper to absorb next layers without damage. Next I stamped text and rose stamps with Dylusions archival mixed media ink pad in Dirty martini color. Ink is darker than paint in the same color, so it is nicely visible. Around edges I went with Jet black archival ink pad, again with foam applicator. I dried the page with heat tool and than I stamped Flourish background stamp from Tim Holtz with Finnabairs clear gesso. I put it on the stamp with roller, so the coat was even. This is my resisted part. Finnabairs clear gesso is smoother than others I have and does not have such a rough "tooth" when dried. That is significant for the last, most important layer - Dylusions Dirty martini spray heavily applied with foam applicator. The paper must be really saturated with this liquid layer, so the resisted gesso part can become visible. During the application I also moistened my applicator with a few drops of water, so the final coloration is lighter in some parts and darker in others. When the page is completely dry, I fixated all with coat of Ranger Micro glaze. I put it with my fingers and than buffed with dry cloth. 

Corners, text and element are stamped with Jet black archival ink and embossed with Wow clear detailed embossing powder. For the flourish I made an extra piece of paper with Dirty martini paint, black archival ink and Wow clear embossing powder. Than I put a double sided tape on the back side and cut two flourishes with Tim Holtz Mixed media 2 Thinlits. I did use the cut out pieces of the flourish and because I wanted the segments turning left and also right, I cut one flourish from the front and one from the back side of the paper and flattened the rougher edges with my Big Shot. Than I had enough pieces to play with so I made my own flourish. Some butterflies and corner picture are from Graphic 45 Mon amour collection stamps and are colored with Dylusions sprays in waterbrushes. Last white touches I made with Uni-ball signo pen. 

And that's it....I really hope you like it and thank you for your patience with so looooong article :D

7.4.2016 Playful art journal page 8


Thursday, 24 March 2016

Playful art journal pages 4 and 5

Another two small art journal pages today. It is mostly about background. I wanted to try a Versamark or Watermark ink technique with a combination with Distress ink pads and Pan pastels.

I need to say, that first trial - Nr. 4 is a quite out of my comfort zone - red color for the background and green (complementary color) leaves in foreground, that is definitely not my cup of tea. On the other hand I wanted something a little bit romantic what would fit with my background Vintage alphabet stamp. Unfortunately this time I did not the technique correctly and the final result was not according to my expectations, so I also used some stencils to finished it. But I like a lot the watch and squirrel :D

Second trial - journal page Nr. 5 - is much much better :D. I like it a lot. I used Distress ink pads, stamped the lattice background stamp with Versamark ink, spritzed the page with water and dried it with heat tool and paper towel. I used Distress ink pads again a little bit to softened some lighter spots. Than I stamped the leaves and applied the white Pan pastel with Distress foam applicator. The result was magical, especially when I burnished the whole page with dry paper towel, so the Pan pastel was fixed on the stamped places and the colors became a little bit more pastel. Finally I used this technique again with music notes stamps. For the image I wanted to use a one layer technique, so I stamped Gorjuss girl stamp, masked it with low tack paper mask and stamped a beautiful tree stamp from Chocolate Baroque over it. The tree stamp was originally bigger and there were two birds, but i masked them out with masking tape before stamping and than I used just a part of the stamp, so it is narrower now :0)

For both pages I used Seawhite hardcover art journal again (25x19 cm / 10"x7.5").

20.3.2016 Playful journal page 4


23.3.2016 Playful journal page 5